• Published on

    Pressed Flower Bookmark Tutorial

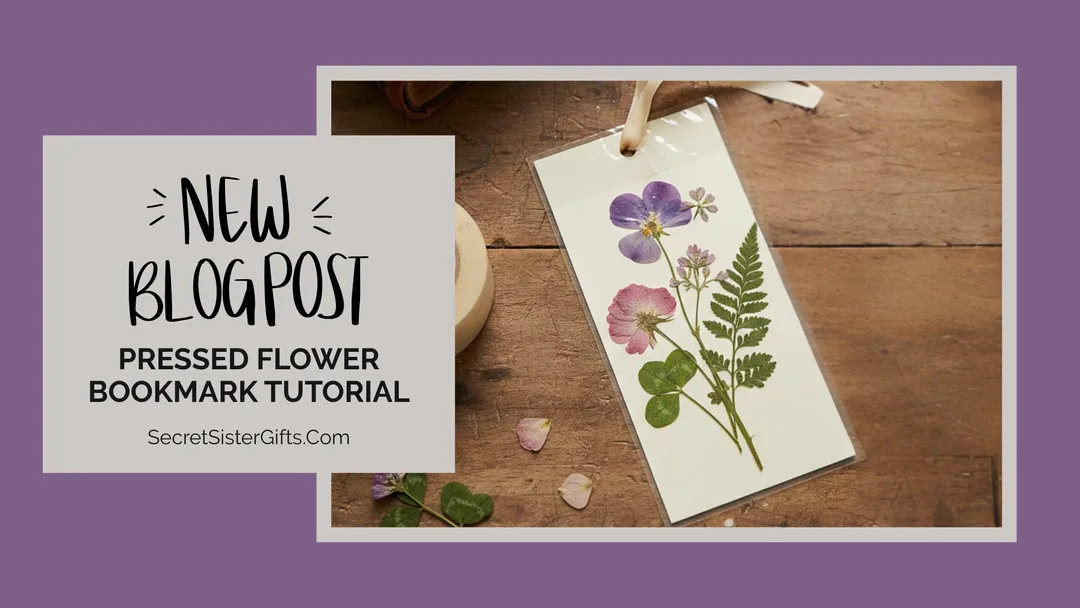
    If you are wanting to find a way to make something special with the pretty flowers that have grown in your garden, this pressed flower bookmark tutorial helps you learn how to preserve your flowers in a useful way!  


    With only a few simple supplies that you probably already have in your home, you will be able to follow the instructions below to make some pretty flower bookmarks. The tutorial explains how to press and dry your flowers, as well as information about how to preserve them with this lovely DIY bookmark crafting project.


    If you are able to press and dry an assortment of flowers a few days ahead of an upcoming women's group gathering at your church, this bookmark project is a fabulous church activity idea for women! They may use the pre-pressed flowers to create their own bookmarks, all while enjoying time together for a fun crafting event.

    A blog post with instructions of how to make a DIY pressed flower bookmark.

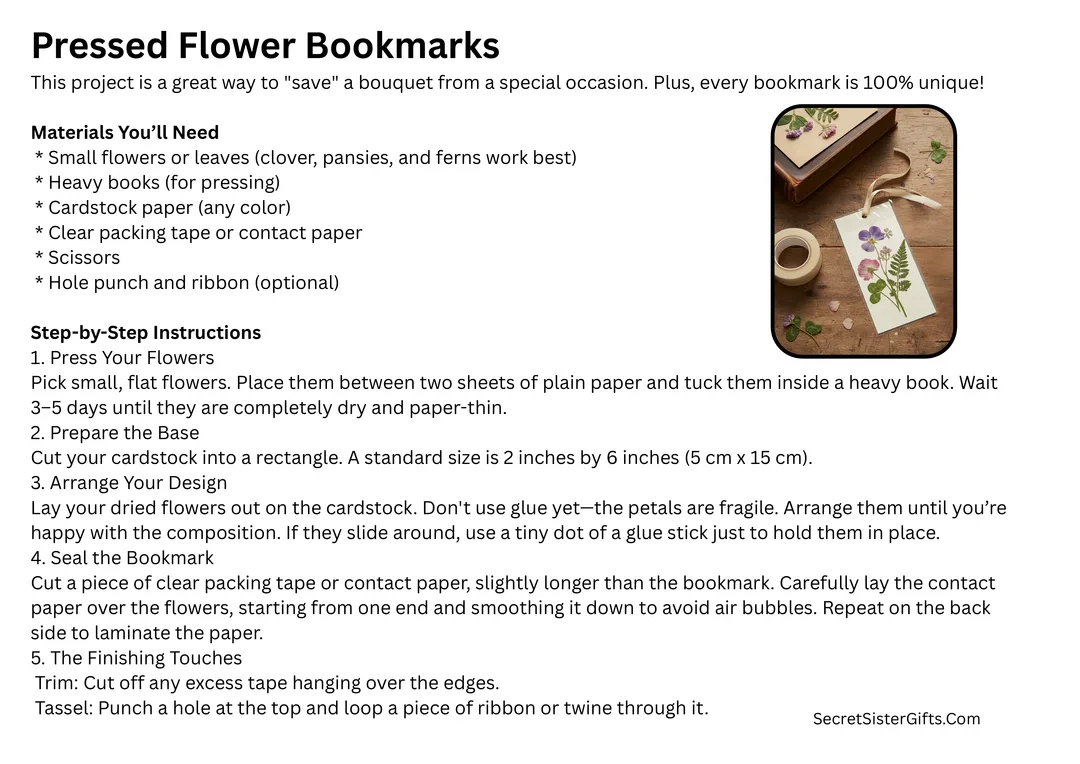
    (Click on the instructional image for a printable pdf file of the instructions.)

    If you have a laminating machine to use instead of contact paper or packing tape, you will be able to make a more professional looking bookmark!

  • Published on

    DIY Prayer Books Craft Idea

    Make your own prayer books or Scripture booklets with this simple DIY technique. With only a few supplies that you probably already have, you can make cute little prayer books that are perfect gifts for the ladies at church, a loved one in the hospital, or your Secret Sister (of course)!


    This would be an ideal activity to be done in your local women's group at church. This is an inexpensive small group option that could be a fun gathering experience.


    To make these, cut cardstock paper into strips that are about 3 inches tall. Fold each strip into equal panels, accordion-style. If you have a paper-scoring-board, that makes it easier to plan your folding measurements, but a ruler would work just fine. If your paper strip is 8 inches wide by 3 inches tall, you may fold it every 2 inches. Then it will look similar to the top example shown in our photo below.


    An optional way to decorate the pages of these prayer books is to cut patterned scrapbook paper into rectangles that are the same size of your folded panels. For example, if each "page" is 3 inches by 2 inches, cut decorative paper into 3" x 2" sections. Mix and match your paper patterns for each panel, as shown below. Attach them to the folded cardstock with a glue stick or double-sided adhesive tape. (Hint: you won't need fancy glue. Stock up on inexpensive multi-packs of glue sticks when there are back-to-school supplies on sale.)


    Next you will add writing to the pages. Include short prayers, Bible verses, and/or inspirational quotes. These messages could be written with pen, marker, or a calligraphy set. Another idea is to use Scripture stickers on each page, if you have those available.


    Decorate your prayer book(s) with stickers, ribbon, stamps, or pressed flowers.


    Make these for yourself, or to share with someone else. You could even keep extra prayer books in your purse to give to the people you encounter in your daily life (grocery store, church, work, on a walk, etc.) to bring a smile to their faces and spread some joy to their hearts.

    DIY Prayer Books - Church Women's Group Activity